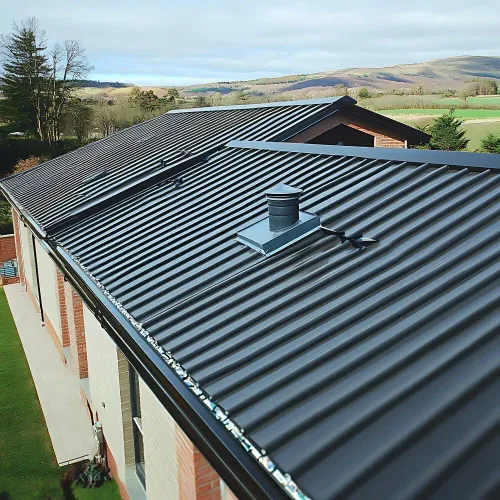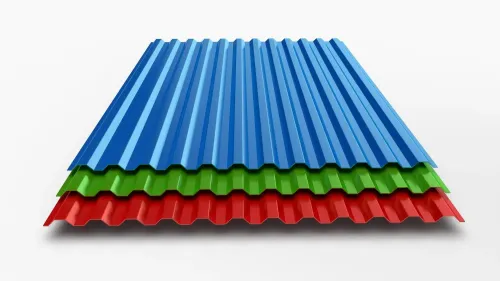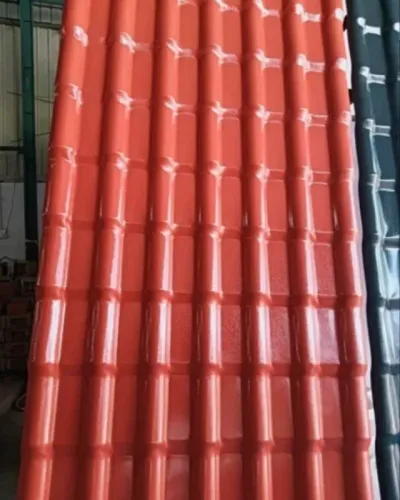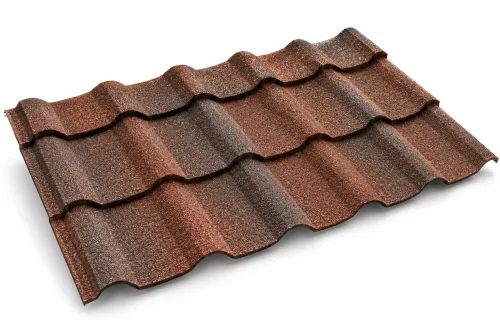

Synthetic thatch must sit above a properly fixed polycarbonate roof, not substitute for the sheet’s laps, fasteners, flashing, or drainage. You will be able to specify the roof build-up, prepare the sheets for thermal movement, install the support frame, and plan inspection access without creating leaks or cracked panels.
Key takeaways
- Keep polycarbonate sheets and synthetic thatch on separate fixing systems.
- Use battens to support thatch panels instead of screwing through unsupported sheet spans.
- Plan ridge, edge flashing and rainwater drainage before installation.
- Specify sheet profile, panel layout, fixings and maintenance access before ordering.
Build the Roof as Two Separate Fixing Systems
The polycarbonate sheet must remain the primary weather barrier; synthetic artificial thatch is a separate decorative and shading layer. A synthetic artificial thatch for poly carbonate sheet in Nagpur installation must therefore use two independent fixing systems, not bundles or panels screwed directly through unsupported sheet spans.
Direct fastening creates point loads, enlarged holes, cracking and local deformation.
Support the thatch on an independent frame fixed to structural members, such as purlins, rafters or a designed perimeter subframe. Use rails, battens or spacers sized to create a continuous ventilation cavity above the sheet. Keep the sheet’s own screws, washers, laps, flashings, gutters and drainage paths accessible.
- Fix the polycarbonate using its specified profile, fasteners and sealing details; never rely on the thatch frame to hold it down.
- Anchor the thatch rails to the supporting structure, not just to the sheet, and check uplift separately at corners, eaves, ridges and perimeter edges.
- Leave removable panels or inspection strips over laps, penetrations, gutters and fasteners.
- Keep an air gap between the sheet and synthetic artificial thatch so trapped heat and condensation do not remain against the roof.
- Treat the ridge and edges as frame details, with restraint against wind-driven lifting.
The UV-protected face of the polycarbonate must face outward, even where the thatch hides it. Confirm the synthetic artificial thatch has documented UV and exterior-exposure performance, plus a warranty covering high-temperature cavities; appearance alone does not prove suitability.
Choose and Prepare the Polycarbonate Sheet Correctly
Use a sheet system that carries weather loads independently from the thatch. A poly carbonate sheet must remain the primary waterproof barrier; synthetic thatch belongs on an independent batten, rail, or subframe, never on unsupported sheet spans. Direct fastening can create point loads, enlarged holes, cracks and leaks.
| Sheet option | Strengths | Checks before selection |
|---|---|---|
| Solid polycarbonate | Highest impact resistance and simple edge detailing | Confirm thickness, support spacing and structural load capacity |
| Multiwall polycarbonate | Lower weight, better thermal insulation and reduced heat transfer | Seal open channels, manage condensation and use compatible end closures |
| Corrugated polycarbonate | Efficient drainage and straightforward profile fixing | Match every screw, washer, lap and flashing to the corrugation profile |
For polycarbonate roofing in nagpur, specify a sheet with a documented UV-protected exterior face, stated temperature and weathering performance, and a warranty covering exterior exposure and high-temperature cavities. Ask for the fire-performance classification, allowable span chart and installation manual; do not infer capacity from thickness alone.
Prepare the sheet before the thatch frame is installed:
- Mark the UV-protected face and keep it outward.
- Cut and drill with tools and clearances specified by the manufacturer; allow for thermal movement.
- Fix through the crown or designated fixing zone with compatible screws and EPDM sealing washers, not through unsupported valleys or sheet centres.
- Seal multiwall channels with the approved breather or closure tape and profile end caps.
- Detail laps, flashings, eaves and gutters so that the thatch cannot obstruct drainage.
The separate frame must transfer wind uplift to the primary structure. Check its anchors at corners, eaves, ridge and perimeter edges under the applicable Indian wind-load design provisions.
Install the Battens, Thatch Panels, Edges and Ridge
The correct sequence is substrate inspection, sheet preparation, independent batten installation, panel layout, edge and ridge finishing, then final fastening. The polycarbonate remains the primary weather barrier; synthetic artificial thatch is a separate decorative and shading layer.
1. Inspect every sheet, lap, flashing, gutter and penetration. Replace cracked or distorted polycarbonate, tighten approved sheet fasteners, and confirm that the UV-protected face points outward. Clean with water and mild compatible detergent; remove the protective film only after installation.
2. Mark the support lines without relying on the sheet alone. Install the specified spacer, rail or batten subframe so each thatch fixing lands on a supported member, not on an unsupported sheet span. Keep an accessible inspection strip and make selected thatch sections removable.
3. Set the battens to the product’s fixing spacing and roof geometry. Maintain a continuous ventilation cavity above the polycarbonate, and do not block the sheet’s drainage channels, laps or gutter flow.
4. Start at the lower eave and work upslope, maintaining the manufacturer’s overlap and alignment. Fix each panel or bundle to the battens with the specified corrosion-resistant screws, clips or ties; never substitute a fixing that can crush the backing.
5. Fit verge and eave trims after the field panels are aligned. Secure edges to the subframe, leave drainage outlets open, and seal only where the system specifies a compatible flashing or sealant.
6. Install the ridge cap over both slopes with the required overlap and ventilation path. Check every fixing, exposed edge, service opening and removable panel, then complete final fastening without drilling through unsupported polycarbonate.
Control Heat, Rainwater, Wind and Future Access
Keep the polycarbonate sheet as the primary weather barrier; synthetic artificial thatch is a shading and visual layer, not a replacement for sheet laps, flashings, drainage or structural fixings. For polycarbonate roofing in Nagpur, design both layers before installation so the upper covering cannot obstruct water or conceal defects.
- Direct monsoon runoff to gutters or clear eaves. Keep thatch edges out of the water path, and avoid concealed valleys, blocked outlets and low-slope pockets where leaves and silt can hold water.
- Leave a ventilated cavity between the thatch and sheet. Provide continuous low-level intake and high-level exhaust openings, fitted with insect and bird mesh; place them so wind-driven rain cannot bypass the drainage layer.
- Check wind uplift separately for the thatch frame and the polycarbonate fixings under IS 875 (Part 3): 2015. Reinforce corners, eaves, ridges and perimeter edges, where the thatch catches wind, and never rely on fasteners through unsupported sheet spans.
- Specify exterior-rated synthetic artificial thatch with documented UV stabilisation, weathering performance and fire performance. Confirm that its installation warranty covers high-temperature cavities.
Preserve inspection routes to laps, fasteners, gutters and penetrations. Use removable thatch sections or service panels, because a hidden sheet leak can damage battens and the ceiling before it becomes visible. Clean gutters and inspect fixings after each monsoon and after severe wind.
Write a Site Specification Before Ordering Materials
Approve the system only after the supplier records the roof build-up, dimensions, loads and installation responsibilities in writing. The phrase synthetic artificial thatch for poly carbonate sheet in nagpur must describe a two-layer roof: the poly carbonate sheet remains the weather barrier, while the synthetic thatch sits on its own support frame.
1. Identify the sheet as solid, multiwall or corrugated polycarbonate, including profile, thickness, colour, light transmission, allowable span and edge-closure method. These details are not interchangeable.
2. Mark the UV-protected face outward and state that the protective film stays on until installation, then is removed. Do not reverse the sheet because thatch will cover it.
3. Show purlin, batten, spacer and ventilation-cavity sizes, fixing points, screw and washer types, laps, flashing, ridge, eaves and drainage outlets. Ban fastening through unsupported sheet spans.
4. Require a separate anchorage calculation for the thatch frame at corners, eaves, ridges and perimeter edges under IS 875 (Part 3), because exposed thatch increases wind-catching area.
5. Request the selected thatch product’s polymer type, backing, water absorption, UV/weathering evidence, exterior and high-temperature approval, fire-test certificate and installation warranty. Reject “fire retardant” without documents.
6. Record panel layout, cut edges, access panels, cleaning method, replacement procedure and who warrants each layer. Maratha Roofing Products can use this schedule to quote the actual sheet, frame and synthetic thatch installation rather than an undefined package.
Related product
Synthetic Artificial Thatch offers a durable and aesthetically pleasing roofing solution, mimicking the look of traditional thatch without the maintenance. View product → |
Frequently asked questions
Why should synthetic thatch and polycarbonate sheets use separate fixing systems?
The polycarbonate sheet must remain the primary weather barrier. Fix synthetic thatch to battens or an independent support frame rather than loading unsupported sheet spans or relying on sheet penetrations.
How should you prepare polycarbonate sheets before installing synthetic thatch?
Confirm the sheet profile, thickness, UV-protected face, fall, support spacing and drainage direction. Keep protective film on during handling, then remove it after installation without blocking channels or end closures.
How are synthetic thatch panels, edges and the ridge installed?
Install the supporting battens first, fix panels to those battens with compatible fasteners, then secure edge details and the ridge so wind cannot lift exposed ends or drive rain beneath overlaps.
What should a site specification include before ordering materials?
Record roof dimensions, pitch, sheet profile and thickness, batten spacing, panel coverage, ridge and edge lengths, fastener types, drainage points, wind exposure and access requirements.
Keywords