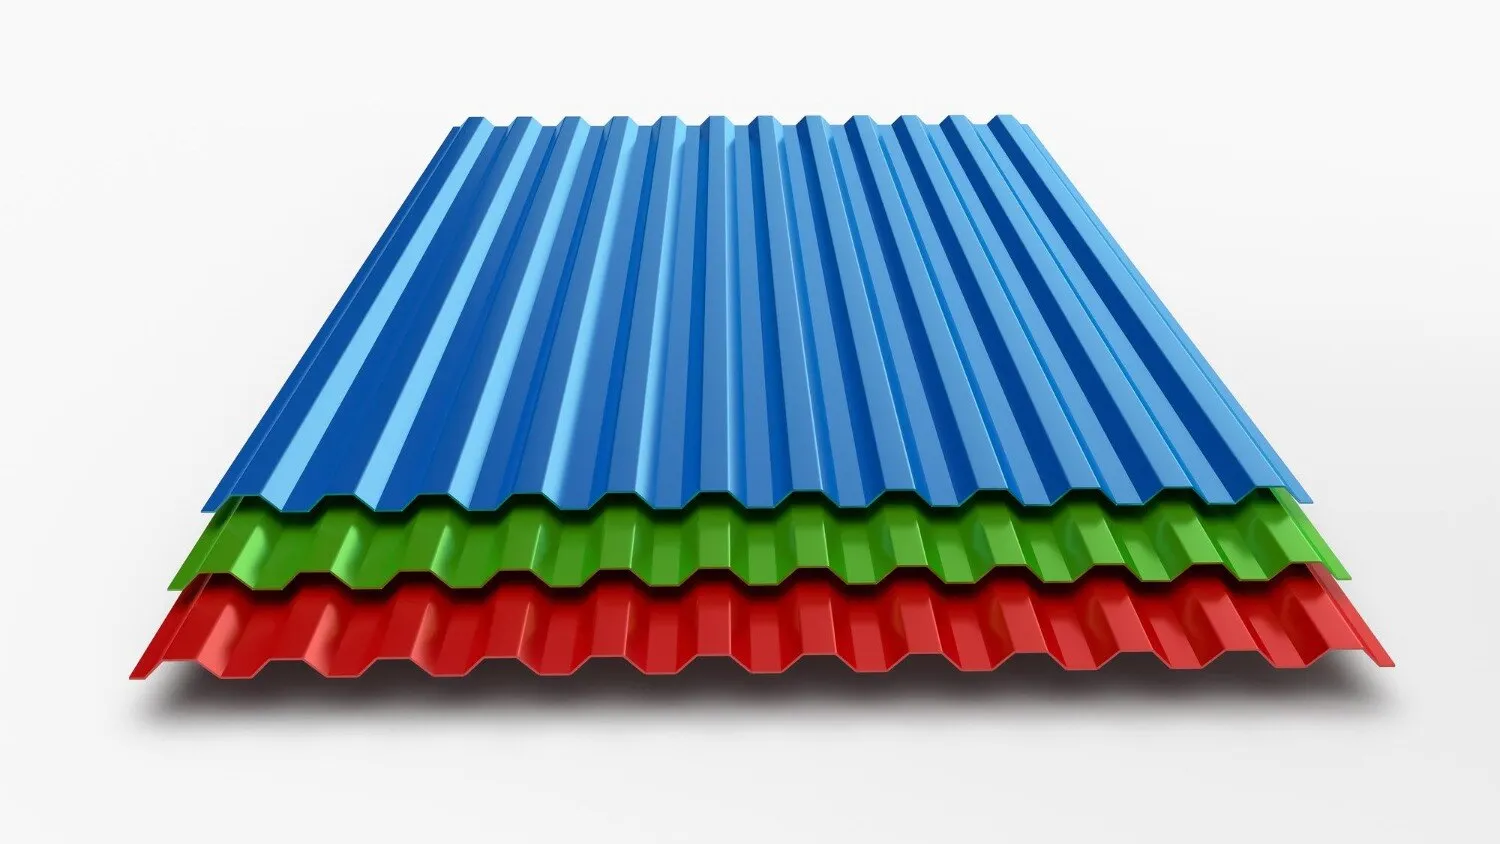
A successful roof installation depends on more than placing sheets over purlins: the order must be checked, the roof measured, the structure prepared and every lap and fixing installed to the selected profile’s instructions. By the end, you will know how to plan the work, identify installation risks and inspect the finished roof before handover.
Key takeaways
- Count bundles and verify profile, thickness, colour and quantity before signing.
- Confirm purlin spacing, roof slope, sheet laps and fixing positions before installation.
- Store sheets flat, shaded and supported; do not drag them across the ground.
- Inspect laps, fixings, alignment, flashings and drainage before accepting the finished roof.
What should you check when the sheets arrive?
Resolve the delivery before signing: confirm it is complete, undamaged and suitable for the planned roof. Count every bundle and compare its label, quantity, profile, thickness and colour with the purchase order. An asa upvc roofing sheet for installation is not interchangeable with another profile or thickness.
Check each bundle for cracked edges, crushed corners, warped sheets, scratches through the ASA weathering layer and colour variation. Confirm that the ordered ridge caps, verge pieces, eave closures, flashings, screws, washers and other accessories are present.
| Check | Accept | Record or reject |
|---|---|---|
| Bundle identity | Label matches the purchase order | Photograph the label and note the bundle number |
| Sheet condition | Flat surfaces, intact edges and consistent colour | Photograph cracks, crushing, warping or deep scratches |
| Accessories | Correct ridge, verge, eave and flashing components, plus screws and washers | List every missing or incorrect item |
| Roof suitability | Correct profile, thickness and colour for the planned roof | Hold the delivery until the discrepancy is resolved |
Write every discrepancy on the delivery note, attach photographs and record bundle numbers before signing. Once sheets are cut or installed, proving transit damage becomes much harder.
Store bundles horizontally on level, closely spaced supports under cover. Keep them away from direct sun, strong heat and standing water; tight wrapping and uneven heating can bow the sheets. Do not drag sheets across one another, because abrasion can damage the ASA surface.
How do you measure the roof and confirm the support design?
An ASA uPVC roofing sheet for installation must be scheduled from installed coverage, not the width printed on the sheet. Measure each roof plane separately before ordering.
- Record roof length, slope length, ridge length, eave overhang, verge overhang, valleys, hips and every penetration. Sketch each plane and mark where cuts, flashings and closures will fall.
- Calculate effective cover width by subtracting the specified side-lap allowance from the nominal sheet width. Calculate usable sheet length by subtracting end-lap allowances from the sheet run; place every end lap over a support.
- Divide each roof area by effective cover width and usable sheet length, then round up each roof section separately. Add waste for verge cuts, valleys, hips, penetrations and damaged pieces rather than applying one percentage to the whole roof.
- Estimate fasteners from the selected profile’s manufacturer fixing pattern, including edge and lap fixings, then add replacement screws and washers. Do not use a corrugated pattern for an ASA uPVC Spanish sheet installation; tile-profile accessories and fixing zones differ.
- Confirm the profile’s published minimum roof slope before ordering. A low pitch changes drainage and can require larger side laps, longer end laps or specified sealing details; sealant cannot correct a slope or lap that falls below the manufacturer’s detail.
- Set purlin spacing from the profile span table and the project wind and load calculation. Check purlin material, straightness, alignment, level differences and load capacity; unsupported areas cause deflection, cracking and fastener pull-out.
The sheet is a weathering skin, not structural decking. Repair or replace weak supports before installation.
What must be prepared before the first sheet is laid?
Before laying the first sheet, confirm that the roof, support frame, access arrangements, tools and accessories are ready for controlled installation. A sheet roof will not correct a weak frame or compensate for missing profile components.
1. Inspect every purlin. Repair or replace twisted, weak or undersized members, then check that support lines are level, straight and aligned. Confirm that the roof can carry workers, sheets and temporary loads without excessive movement. Position every end lap directly over a support.
2. Set out the equipment: measuring tape, chalk line, drill or screwdriver, profile-compatible roofing screws, EPDM or equivalent sealing washers, approved sealant and non-abrasive cutting equipment. Keep access boards available where workers cannot safely stand on the supports.
3. For an ASA uPVC Spanish sheet installation, order the matching ridge caps, eave pieces, verge pieces, flashings and closures from the same system. Corrugated accessories and screw positions may not fit a tile-shaped Spanish profile. Check the manufacturer’s profile drawing before delivery.
4. Plan formed details around valleys, hips, penetrations and wall abutments. Do not fill large profile voids with expanding foam; it is not a substitute for a formed flashing or purpose-made closure and can obstruct drainage or ventilation.
5. If the roof covers an occupied or humid space, decide the ventilation, insulation and vapour-control arrangement before sheeting. A weatherproof outer sheet alone does not prevent underside condensation, which can damage purlins or stored goods.
How does ASA uPVC roofing sheet fitting proceed?
ASA uPVC roofing sheet fitting proceeds from a squared eave toward the ridge, then across the roof while preserving the planned effective side lap. Mark the eave with a chalk line and square the first sheet to the roof; a small error there grows across every subsequent sheet.
- Check the manufacturer’s minimum pitch and lap drawing before laying. Orient side and end laps away from prevailing wind-driven rain, and place every end lap over a purlin. Sealant supplements the detail; it cannot replace lap length, support or correct alignment.
- Cut and drill with equipment that does not burn or melt the polymer. Remove swarf before closing a lap, because trapped chips can lift the sheet above the purlin and create a leak path.
- Fix through the designated crest or fixing zone using specified corrosion-resistant screws and profile-compatible EPDM or equivalent washers. Drill the product guide’s clearance hole for thermal movement, keep screws from binding the sheet and tighten until the washer seals without crushing or visibly deforming the uPVC.
- Fit matching ridge, eave, verge and flashing components. Do not rigidly trap sheets at abutments or overtighten screws.
| Detail | Correct practice | Failure if ignored |
|---|---|---|
| Side lap | Maintain the planned effective cover | Gaps or reduced drainage capacity |
| End lap | Centre the specified lap over a purlin | Unsupported joints can leak |
| Fixing | Allow movement and seat the washer lightly | Cracks, buckling or leaks |
An ASA uPVC Spanish sheet installation needs accessories and screw positions made for that tile-shaped profile; corrugated components are not interchangeable.
How do you inspect the finished roof and compare suppliers?
A finished roof is weather-ready only when water follows its intended drainage path and every joint is supported and sealed. Check straight eaves, consistent side and end laps, supported joints, seated washers and screws driven to the specified depth—not exposed, loose or under-driven.
- Inspect open profile ends, ridge and verge closures, flashings and penetrations for gaps or displacement.
- Look for scratches through the weathering layer, crushed crests, sealant gaps, blocked gutters and obstructed drainage paths.
- Remove every swarf fragment and piece of packaging before testing.
Use controlled water that runs downslope over laps and flashings. Do not flood the roof or direct a hose uphill; neither reproduces wind-driven rain.
For an asa upvc roofing sheet supplier in Nagpur, request a written data sheet and quotation with these details:
| Supplier document | Confirm | Clarify before ordering |
|---|---|---|
| Data sheet | Sheet thickness, mass per square metre, profile drawing, nominal and effective cover, support spacing, minimum pitch and fire classification | Thickness tolerance or missing test basis |
| Installation detail | Fixing type, lap detail, temperature or movement allowance and accessory geometry | Unsupported joints or incompatible ridge and verge pieces |
| Evidence and terms | UV or weathering test method, warranty exclusions and delivery packaging | “ASA” or “uPVC” claims without evidence |
If Maratha Roofing Products is one quotation, apply this checklist to it exactly as you would to every competing supplier. Keep the order, batch labels, photographs, installation guide and maintenance record with the handover documents for future repairs.
Related product
 | ASA Upvc Spanish Sheets offer a durable, stylish roofing solution designed to withstand harsh weather conditions. View product → |
Frequently asked questions
What should you check when ASA uPVC roofing sheets arrive?
Count every bundle and compare the labels with the purchase order. Check the profile, thickness, colour, quantity and visible damage before signing the delivery receipt.
How do you confirm the roof support design before fitting?
Measure the roof length, width, slope and usable sheet runs. Confirm that purlin spacing, support alignment, edge overhangs and fixing positions match the sheet manufacturer's installation instructions.
What must be prepared before the first sheet is laid?
Finish the supporting frame, clear the roof, arrange safe access, separate sheets by profile and colour, and prepare compatible screws, washers, flashings and sealants.
How does ASA uPVC roofing sheet fitting proceed?
Begin at the planned eave and work against the prevailing wind, keeping sheets aligned and supported. Overlap sheets as specified, drill fixing holes at the correct support points, fit washers without crushing the sheet, and install flashings as the work progresses.
How do you inspect the finished roof and compare suppliers?
Check straight sheet lines, consistent laps, secure but undamaged fixings, sealed flashings, clear drainage paths and the absence of cracks or unsupported edges. Compare suppliers by documented profile and thickness, delivery condition, installation guidance, replacement policy and total delivered cost.
Keywords